To start off with a personal note, I’ve always had an admiration for space technology. This culminated in 2018 to Cape Canaveral – catching a Falcon 9 launch – and then again in 2022; included discussions from an opensource angle with various small space-related companies; working on Gaisler chips and boards (a SPARC-based rad-hardened chip for running satellites); and lengthy standups for my colleagues about everything space which they’re probably getting bored of.
Three years ago I’ve found the SatNOGS project, which in a nutshell is a flightradar24 network for cubesats – receiving packets and telemetry from satellites on orbit, useful for cubesat operators who are usually on a tight budget. As the source of this telemetry is a 10x10x11.3cm box, is in orbit of about 200-800kms high (or even more), has a speed of 27,500km/h, and has a transmit power of 800-1000mW, you need to have damn good antennas attached to your receiving radio. SatNOGS has a Linux-based software stack which includes a rotator, which means that your “yagi” antenna can be rotated to track the satellite you want to receive data from. Instead of using a rotator which is usually a DIY-built station of wheels and small motors in your attic, and can break down fairly often, I wanted to build a hedgehog of yagi antennas and some RF switcher logic in front of the receiver, which also tracks the satellite but with switching to the yagi that points to the given part of the sky where the sat is. Not a two-day project.
Fast-forward to late 2025, I’ve found the TinyGS project. It’s a similar project to SatNOGS but for small ESP32 boards, equipped with LoRA radios, and had reports that even with a simple omni-directional antenna (large stick with a defined length), users can get fairly good results on receiving telemetry. After the third ADS-B (plus ACARS and VDL-m2) receiver station buildout – which will receive its own blogpost -, I thought it’d be easy to bring one up. The way it works is that the TinyGS station connects to a central MQTT, and based on where the station is, it’ll receive commands from that MQTT to listen to this or that frequency (which points to a satellite flying over). You can select preferences or even listen to just one, but the majority of the stations is running on auto-tune.
The BoM – with links working as of 8/Feb/2026 – was:
- Heltec Lora32 v3 (433MHz / SX1262 radio)
- a cheap 433MHz LNA (low-noise amplifier with filter) from Aliex
- a 40cm omni antenna, also from Aliex / Ziisor store (TX433-BLG-40)
- some low-loss cabling and connectors:
The sum was about $60-70 with the free shipping option. Both the Heltec v3 board and the LNA comes with USB-C power input, so for powering them, you can use a standard USB charger and an USB hub – they’re almost running on trickle current. As I don’t have enough USB ports on the ADS-B box on the balcony for now, I’m running the TinyGS receiver on power banks for the moment – they run on a 15Ah USB bank for about a day and a half.
The Heltec board arrives with a LoRA firmware. The first thing to do is to install the TinyGS software to it – start hooking it up to your PC and open the TinyGS installer website from your browser. The board needs to be put into “programming” mode – disconnect it from your PC, press the PRG button (keep pressing it), connect it back, and you’ll have a new serial port coming up. This is when the site can start flashing the board – you’ll have to select the serial port which is likely a CP2102, hit it, and then wait for 2-3 minutes.
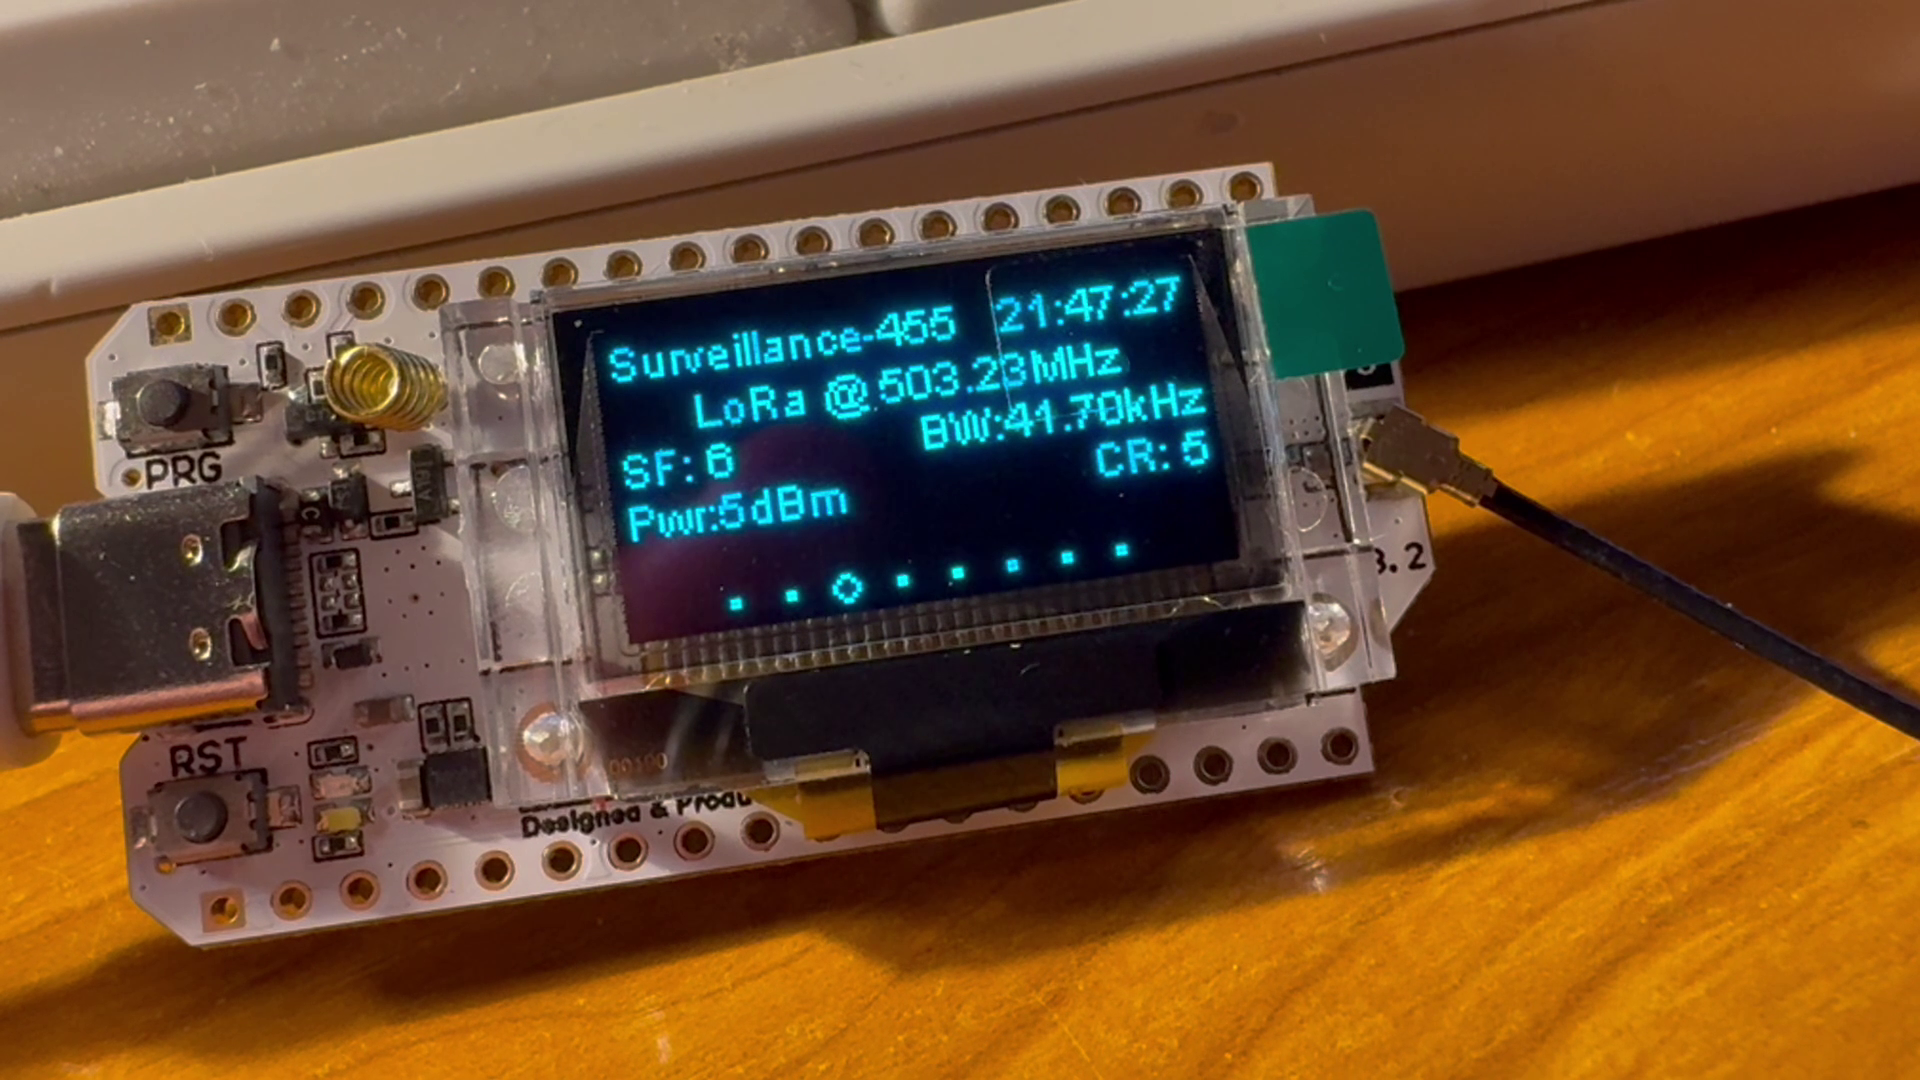
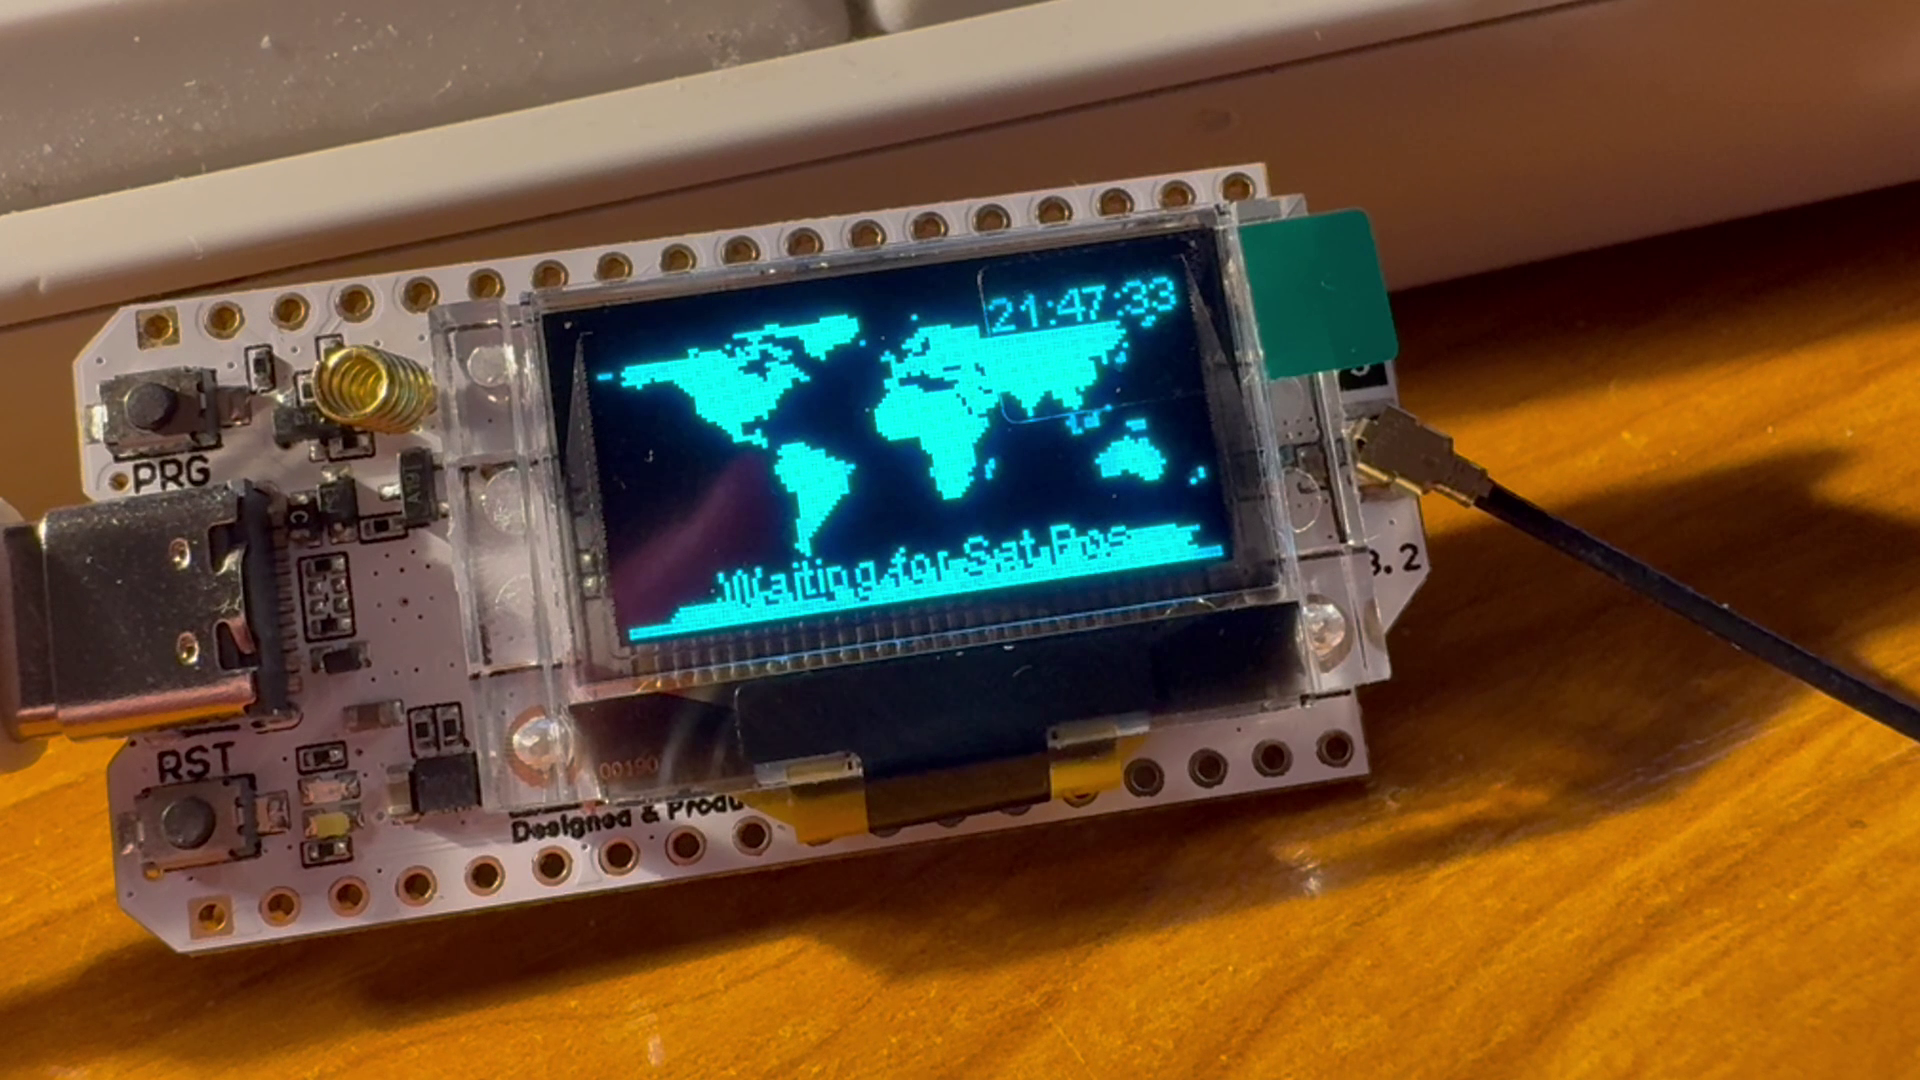
The display will light up and start showing a world map, the tinygs version number – you can now connect to it with your phone via wifi (the SSID is “My TinyGS”), and start setting it up. You can connect to its IP with a browser. Pick a favourable name to your station, set the GPS coordinates, and get the MQTT credentials which are unique to each board. The MQTT creds can be fetched from Telegram (which raised my eyebrows a bit, but it’s okay) as written on the Installer site.
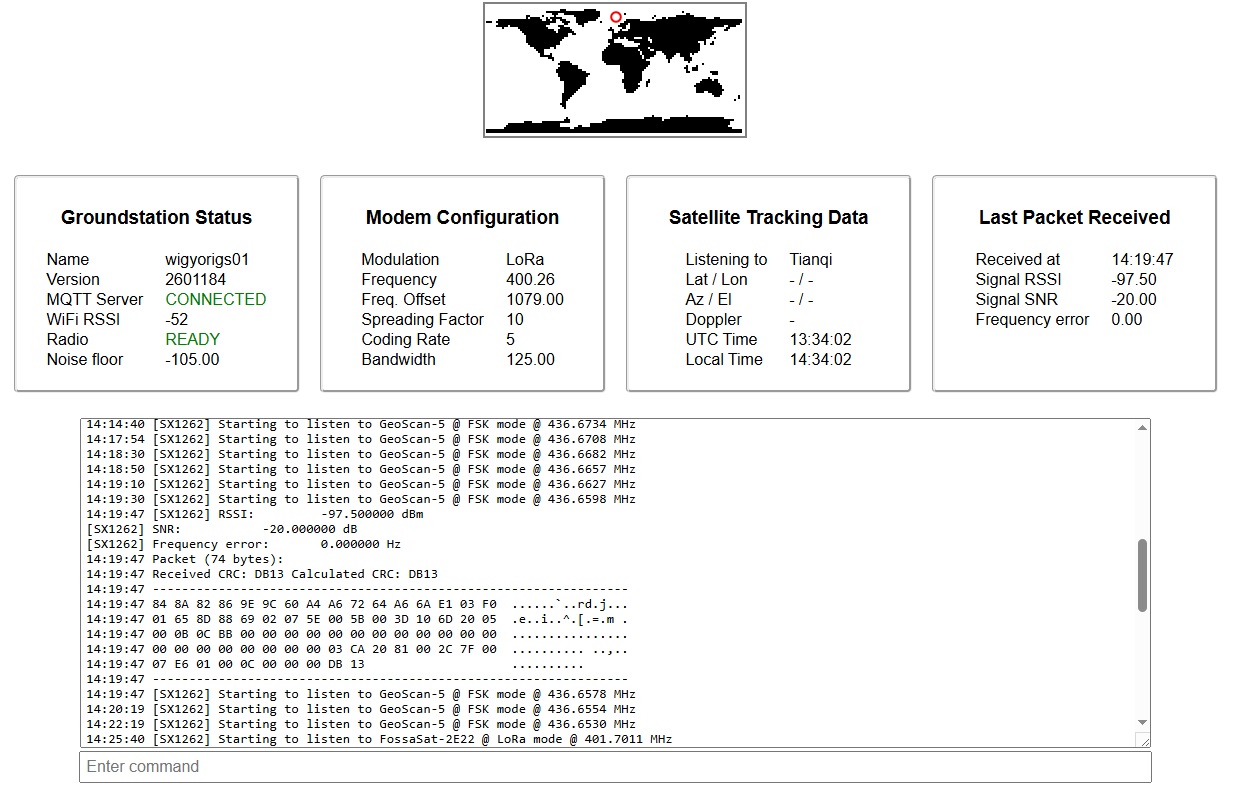
The firmware provides a dashboard which shows a log of the autotune, the radio’s current state (which satellite it’s listening to) and if any packets have been received, and what was the last time. The received telemetry packets can be decoded on the tinygs.com site – go to Stations, and search for your ground station’s name. If you want, you can also set your station’s preferences on what frequency should it primarily be listening to, or even satellite constellations you’re interested in. That’s it, you’re done.
Some notes:
- With my omni antenna just plucked out to the balcony, I can receive about 2-3 satellites per hour, but this is very dependent on the atmospheric conditions.
- The LNA (and its filter!) has a working frequency of 433MHz -+ 5MHz. Don’t expect anything from sats operating in the 400MHz or 500MHz band.
- While you can set your station’s preference on frequency – due to the above, I’ve set it to the 433 / 435MHz bands -, the autotune doesn’t seem to care, it still tunes in to the 400/500MHz sats for some reason.
- When buying the cabling from Aliex, make sure you pick the “SMA” and not the “RPSMA” (reverse-polarity) connectors – RPSMA is used mainly by the wifi routers
- Another personal note. Having born in the C64-era, I still find it amusing that:
- There is a microcontroller packing 2x240MHz processors into a package that’s about the size of the quarter of a fingernail
- This package can process signal data with literally no heating
- I can listen with this to things flying out in space
- and that all this can run off a battery pack for 24+ hours.
Once the station is moved to its final place, I will update this post with the RX stats.
Happy listening!